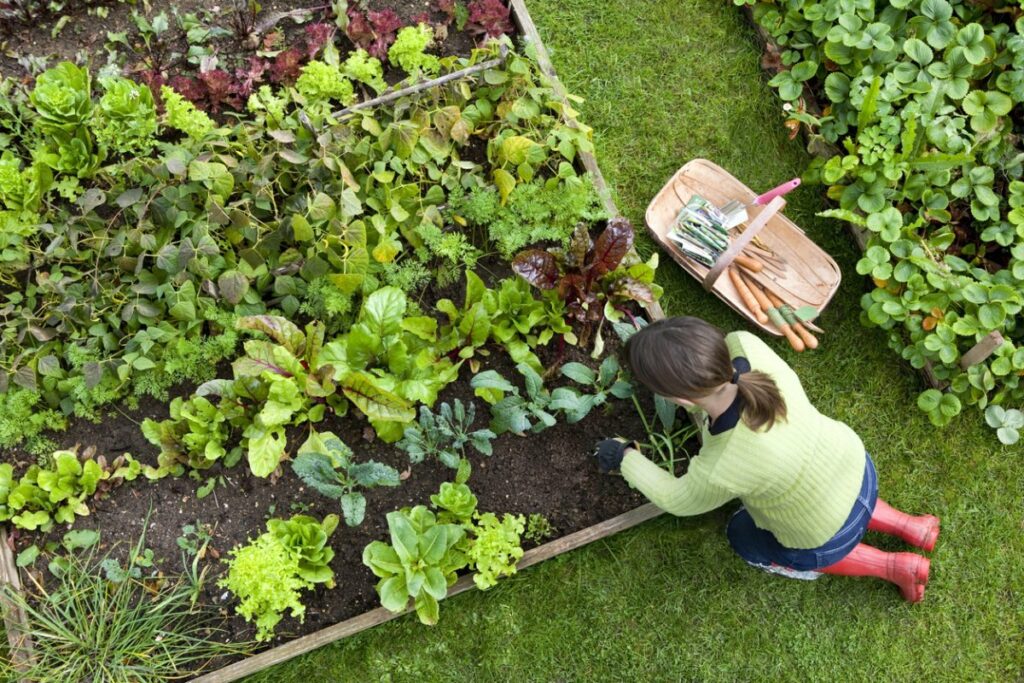
Planning a vegetable garden layout can be a fun and rewarding experience for any gardener. Whether you are a seasoned pro or a beginner, having a well-designed garden layout can help you maximize your yield and make the most of your growing space.
When planning your garden layout, there are several factors to consider. First, you’ll need to decide what type of vegetables you want to grow and how much space you have available. You’ll also need to think about the layout of your garden beds, the spacing between plants, and the amount of sunlight each area of your garden receives.
By taking the time to carefully plan your vegetable garden layout, you can create a beautiful and productive garden that will provide you with fresh, healthy produce all season long. So whether you’re looking to grow a few tomatoes or a whole garden full of veggies, with a little planning and preparation, you can have a successful and rewarding growing season.
Choosing a Location
When planning a vegetable garden, one of the most important factors to consider is the location. Here are some things to keep in mind when choosing a spot for your garden:
- Sunlight: Vegetables need at least 6 hours of direct sunlight per day to grow well. Look for a spot that gets plenty of sun, ideally in the morning and early afternoon.
- Soil: The soil in your garden should be rich in nutrients and well-draining. Avoid areas with heavy clay soil or soil that is constantly wet. If you’re unsure about the quality of your soil, consider getting it tested by a local extension office.
- Water: Your garden should be located near a water source, such as a hose or spigot. You’ll need to water your plants regularly, especially during hot, dry weather.
- Easy to Access: Choose a location that is easy to access and close to your home. This will make it easier to tend to your garden and harvest your crops.
- Size: Consider the size of your garden when choosing a location. Make sure there is enough space for all of the vegetables you want to grow, as well as pathways for walking and working.
By keeping these factors in mind, you can choose a location that will provide the best growing conditions for your vegetable garden.
Deciding What to Grow
When planning a vegetable garden, it’s important to choose plants that will thrive in your climate and soil conditions. I like to start by considering what vegetables my family enjoys eating and which ones are the most expensive to buy at the grocery store. This helps me prioritize what to grow.
Another factor to consider is the amount of space you have available. If you have a small garden, you may want to focus on growing vegetables that are high-yielding and take up less space, such as tomatoes, peppers, and cucumbers. If you have more space, you can consider growing larger plants like corn or pumpkins.
It’s also important to think about the timing of your harvest. Some vegetables, like lettuce and spinach, have a short growing season and can be harvested multiple times throughout the year. Others, like tomatoes and peppers, have a longer growing season and may only produce one or two harvests.
Finally, consider the level of maintenance required for each plant. Some vegetables, like zucchini and squash, are relatively easy to grow and require minimal maintenance. Others, like broccoli and cauliflower, require more attention and may be more challenging for novice gardeners.
Companion Planting
When planning a vegetable garden layout, according to Backyard Gardeners Network, it’s important to consider companion planting. Companion planting is the practice of planting different crops together that have a beneficial relationship with each other. This can help improve soil health, reduce pest problems, and increase yields.
For example, planting peas with beets can be beneficial because the peas fix nitrogen in the soil, and the beets need a heavy dose of nitrogen to grow.
Another example is planting basil with tomatoes. Basil repels pests that commonly attack tomatoes, such as aphids and whiteflies. Plus, the aroma of basil can improve the flavor of tomatoes.
Here are some other examples of companion planting:
- Planting carrots with onions can help deter carrot flies.
- Planting marigolds with vegetables can help repel nematodes and other pests.
- Planting chamomile with vegetables can help improve soil health and attract beneficial insects.
When planning your vegetable garden layout, consider incorporating companion planting to help improve the health and productivity of your plants.
Layout Design
When planning the layout of your vegetable garden, there are a few different options to consider. The layout you choose will depend on your available space, the types of plants you want to grow, and your personal preferences.
Traditional Rows
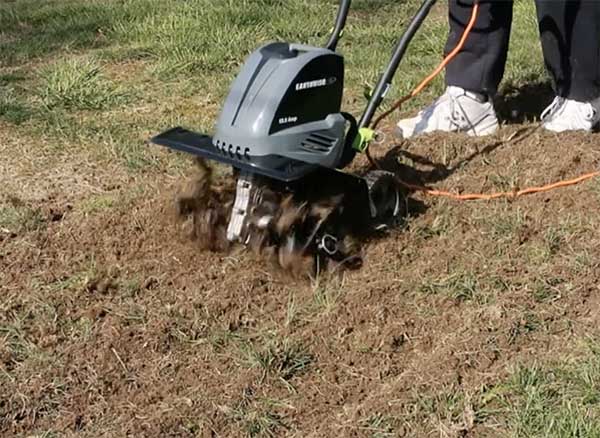
One common layout for vegetable gardens is traditional rows. This involves planting rows of vegetables with space between them for walking and maintenance. This layout is great for larger gardens with plenty of space, and it can make it easier to use large equipment like tillers.
When using traditional rows, it’s important to plan for crop rotation to prevent soil-borne diseases and pests. You can also use companion planting to improve soil health and deter pests.
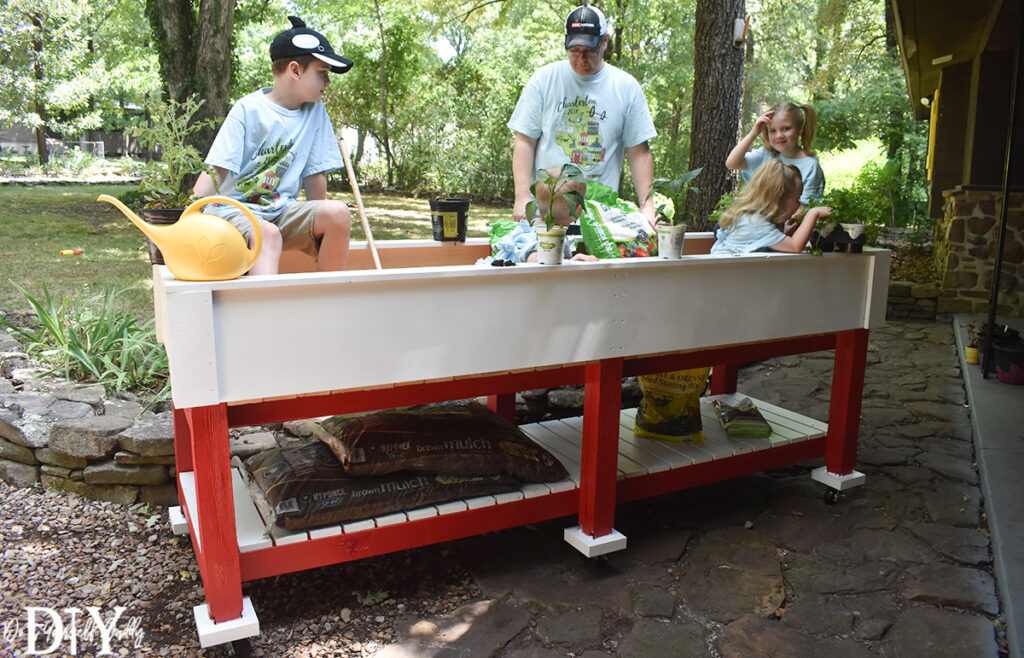
Raised Beds
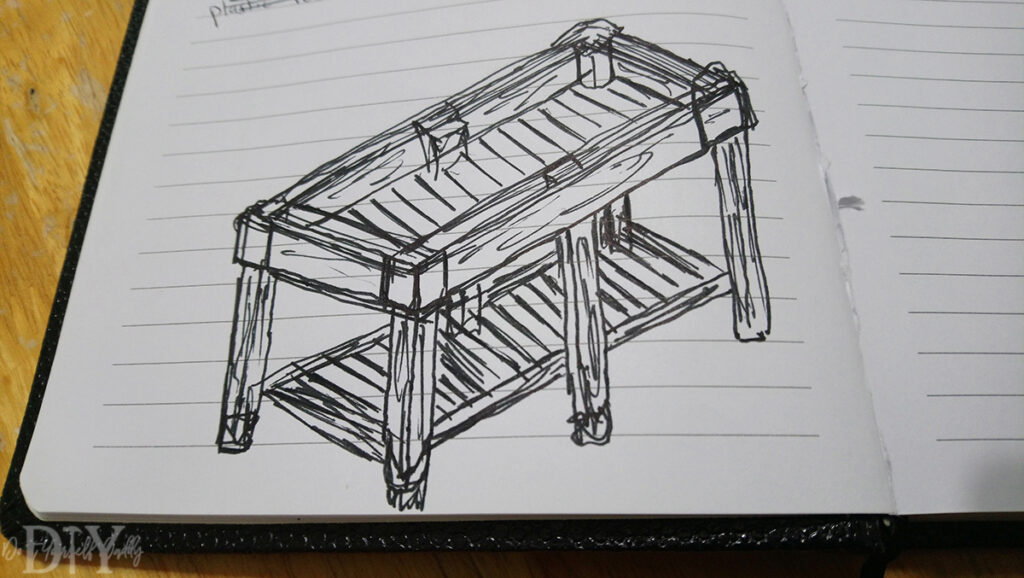
Raised beds are another popular layout option for vegetable gardens. This involves creating raised areas of soil that are easier to access and maintain. Raised beds can be great for smaller gardens or for gardeners with limited mobility.
When using raised beds, it’s important to use high-quality soil and to plan for proper drainage. You can also use trellises and other vertical structures to maximize space and improve yields.
Square Foot Gardening
Square foot gardening is a layout method that involves dividing your garden into small, square sections. Each section is then planted with a specific number of plants, depending on the size of the plant and the spacing requirements.
This layout is great for small gardens or for gardeners who want to maximize their yields in a limited space. Square foot gardening can also be easier to maintain and harvest, since each section is clearly defined.
| Layout Type | Pros | Cons |
|---|---|---|
| Traditional Rows | Easier to use large equipment | Requires more space |
| Raised Beds | Easier to access and maintain | Requires high-quality soil and proper drainage |
| Square Foot Gardening | Maximizes yields in limited space | Requires careful planning and spacing |
Conclusion
Planning a vegetable garden layout can be a fun and rewarding experience. By taking the time to consider factors such as sunlight, soil quality, and companion planting, you can create a garden that is both productive and aesthetically pleasing.
Remember that there is no one-size-fits-all approach to garden planning. The layout that works best for you will depend on your individual needs and preferences. Don’t be afraid to experiment and try new things!
With a little bit of planning and preparation, you can enjoy a bountiful harvest of fresh, nutritious vegetables all season long. So grab your gardening gloves and get started!